Good afternoon,
CHAPTER 0: Artist Intro
CHAPTER 1: Art and Design theory
CHAPTER 2: Architecture Styles
CHAPTER 3: Styles in Painting
CHAPTER 4: References
CHAPTER 5: Sketching for 2D
CHAPTER 6: Colors and volumes
CHAPTER 7: Details
CHAPTER 8: Sketching for 3D
CHAPTER 9: 3D modeling

Valorant, Fortnite, Ember
This lesson covers third assignment in the Character Design course with Ricardo Padierne. Start learning at ConceptCore.
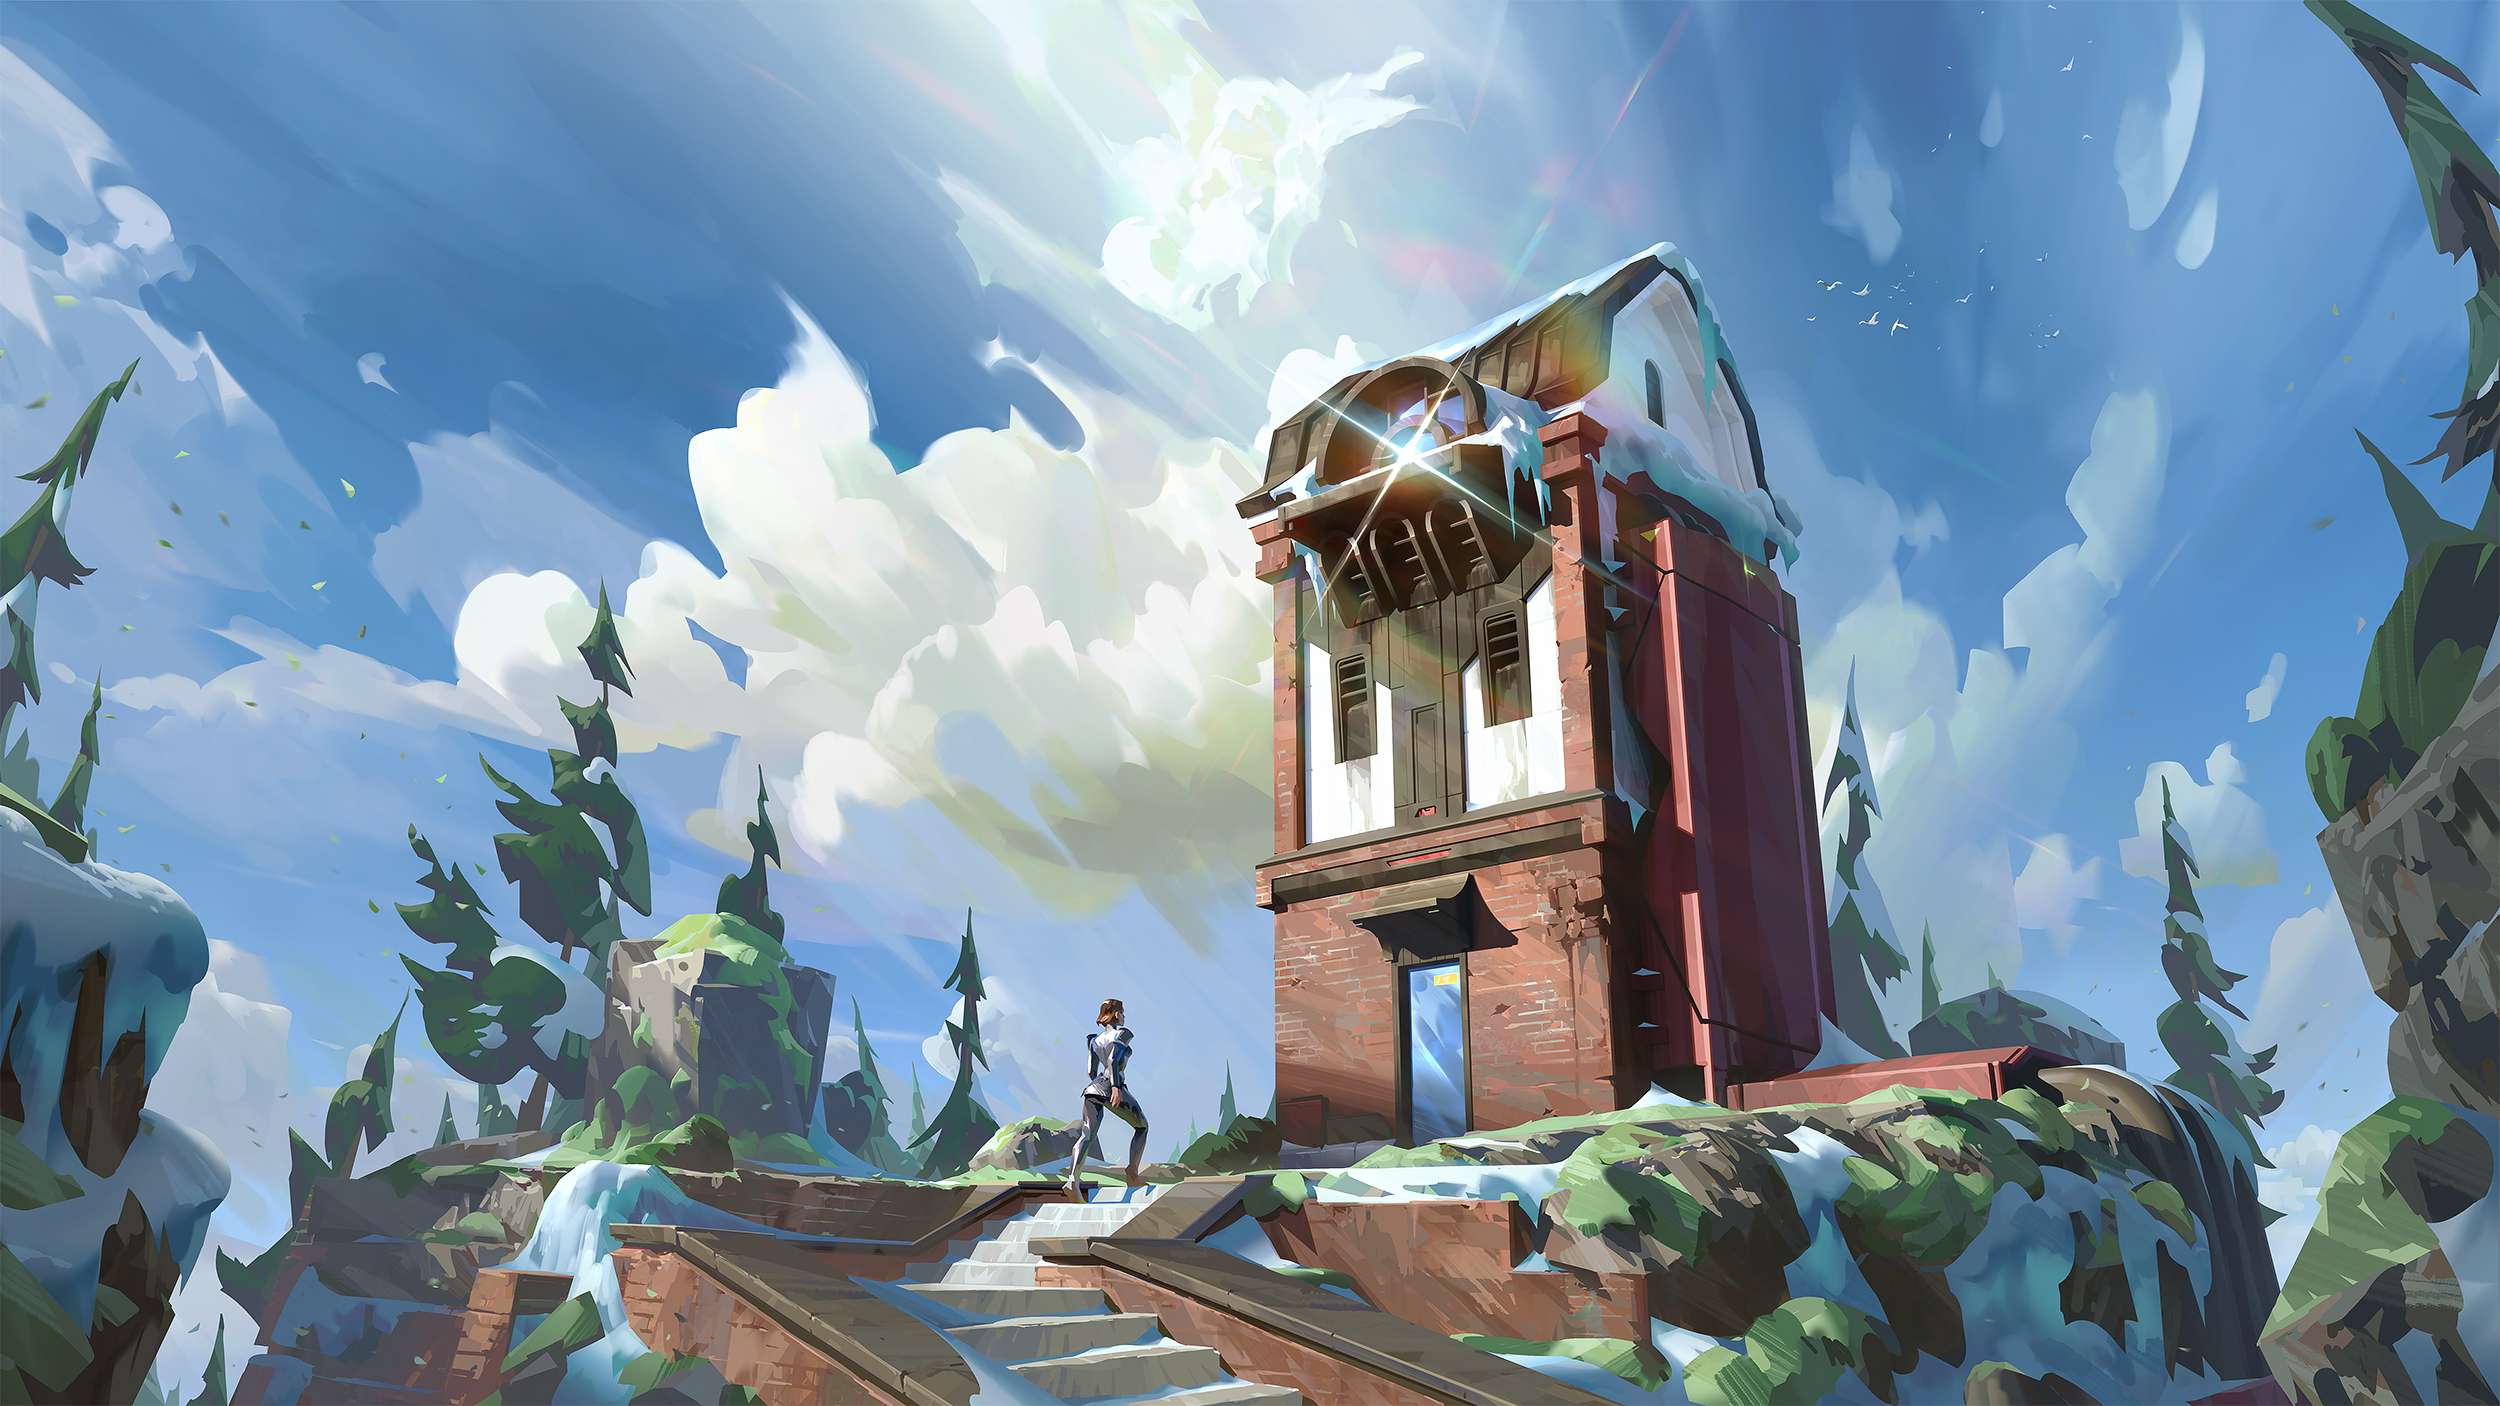
Assignment 3: 3D environment illustration
For this assignment you will create an environment illustration combining a 2D and 3D workflow. Gather your references of a building and architectural elements you want to centre your image on. I would advise to use your own references if possible for maximum authenticity and ability to take photos of many angles, that will help for the 3D. Even if you have no previous 3D experience you should be able to get a base that will help create your image. So do not be scared to dip into it, I try my best to explain all my workflow in detail. Keep it simple, we will only use 3D as a base for perspective, colours and light direction, most of the work will then be done with the paint over. The simpler the 3D, the easiest it will be to paint over it. Once the 3D is done, remember to paint over everything with a first layer of painting that will drive the direction of your stylisation. While overpainting, look out for flat surfaces that are too uniform and edges that are too sharp. Those tend to look very 3D and you need to break them with the paint over to cut the stiffness of the 3D. Create an environment you are passioned about, plan well your composition and focal points, don't forget to add some wear and tear for anthenticity and you'll end up with an image you are proud of!
Valorant, Fortnite, Ember
This lesson covers third assignment in the Character Design course with Ricardo Padierne. Start learning at ConceptCore.
Assignment 3: 3D environment illustration
For this assignment you will create an environment illustration combining a 2D and 3D workflow. Gather your references of a building and architectural elements you want to centre your image on. I would advise to use your own references if possible for maximum authenticity and ability to take photos of many angles, that will help for the 3D. Even if you have no previous 3D experience you should be able to get a base that will help create your image. So do not be scared to dip into it, I try my best to explain all my workflow in detail. Keep it simple, we will only use 3D as a base for perspective, colours and light direction, most of the work will then be done with the paint over. The simpler the 3D, the easiest it will be to paint over it. Once the 3D is done, remember to paint over everything with a first layer of painting that will drive the direction of your stylisation. While overpainting, look out for flat surfaces that are too uniform and edges that are too sharp. Those tend to look very 3D and you need to break them with the paint over to cut the stiffness of the 3D. Create an environment you are passioned about, plan well your composition and focal points, don't forget to add some wear and tear for anthenticity and you'll end up with an image you are proud of!
15 chapters
15 chapters
11 chapters